Hosting Ghost Inside Docker Container Behind Nginx


I wanted to built a blog so bad but the thing is there are many platform such as Medium and blogger.com Why would i reinvent the wheel just for the sake of writing?
Since blogger.com UI is not very "modern" and Medium is blocked in my country, i need to find an alternative that must meet the following criteria:
- Easy to setup and maintain.
- Doesn't consume a lot of time to actually set up the config.
- Easy domain name customizing.
- Easy to backup and migrate data.
After a couple of hours of researching, then i decided to go with Ghost blogging, because its open source and the document is more than just detailed. Moreover, there's a forum of people actively asking questions about hosting it.
The Faster Way
The faster way could be using Pikapods or any alternatives that could spin up a Docker container up and running in a minute. Their pricing is actually quite good.
Hosting Steps
Prerequisites: First and foremost, we will need a linux machine with static ip address, Docker and Nginx installed on the machine. We also need a domain, i prefer purchasing domain name from Cloudflare because the purchasing process is simple.
Setting up docker compose for Ghost and MySQL
Ghost has a very detailed documentation on how to setup their Docker image here. However, in order to run Ghost in Production mode, we will need a dedicated MySQL Server instead of an .db file as in development mode.
Here's my docker-compose.yml file for bootstrapping Ghost blogging.
services:

  ghost:
    depends_on:
      - db
    image: ghost:5-alpine
    restart: always
    ports:
      - 8085:2368
    environment:
      # see https://ghost.org/docs/config/#configuration-options
      database__client: mysql
      database__connection__host: db
      database__connection__user: root
      database__connection__password: thisisyourpassword
      database__connection__database: ghost
      # this url value is just an example, and is likely wrong for your environment!
      url: https://meditation.shibuicat.com
      # contrary to the default mentioned in the linked documentation, this image defaults to NODE_ENV=production (so development mode needs to be explicitly specified if desired)
      #NODE_ENV: development
    volumes:
      - ./mount-bind/ghost/content:/var/lib/ghost/content

  db:
    image: mysql:8.0
    restart: always
    environment:
      MYSQL_ROOT_PASSWORD: thisisyourpassword
    volumes:
      - ./mount-bind/ghost/mysql:/var/lib/mysql
Please update your password for MYSQL_ROOT_PASSWORD and database__connection__password , the url is the https schema of the domain that will be exposed to the public internet, in my case it's https://meditation.shibuicat.com
Once the docker compose file is ready, we simply create the container by running the following command
docker compose -f ./docker-compose.yml up
Nginx
Now, we will need to setup Nginx to redirect all the requests coming from the url https://meditation.shibuicat.com to the port 8085 of localhost . We don't need to worry about https on the machine because TLS will be handled on edge (Cloudflare), then will be terminated by Nginx via SSL termination.
Navigate to /etc/nginx and modify the content of the nginx.conf as follow
user www-data;
worker_processes auto;
pid /run/nginx.pid;
include /etc/nginx/modules-enabled/*.conf;

events {
	worker_connections 768;
	# multi_accept on;
}

http {
	server {
	client_max_body_size 100M;
	listen 80;
	server_name meditation.shibuicat.com;
	location / {
		proxy_pass http://127.0.0.1:8085;
	    }
	}

	##
	# Basic Settings
	##

	sendfile on;
	tcp_nopush on;
	types_hash_max_size 2048;
	# server_tokens off;

	# server_names_hash_bucket_size 64;
	# server_name_in_redirect off;

	include /etc/nginx/mime.types;
	default_type application/octet-stream;

	##
	# SSL Settings
	##

	ssl_protocols TLSv1 TLSv1.1 TLSv1.2 TLSv1.3; # Dropping SSLv3, ref: POODLE
	ssl_prefer_server_ciphers on;

	##
	# Logging Settings
	##

	access_log /var/log/nginx/access.log;
	error_log /var/log/nginx/error.log;

	##
	# Gzip Settings
	##

	gzip on;

	# gzip_vary on;
	# gzip_proxied any;
	# gzip_comp_level 6;
	# gzip_buffers 16 8k;
	# gzip_http_version 1.1;
	# gzip_types text/plain text/css application/json application/javascript text/xml application/xml application/xml+rss text/javascript;

	##
	# Virtual Host Configs
	##

	include /etc/nginx/conf.d/*.conf;
	include /etc/nginx/sites-enabled/*;
}


#mail {
#	# See sample authentication script at:
#	# http://wiki.nginx.org/ImapAuthenticateWithApachePhpScript
#
#	# auth_http localhost/auth.php;
#	# pop3_capabilities "TOP" "USER";
#	# imap_capabilities "IMAP4rev1" "UIDPLUS";
#
#	server {
#		listen     localhost:110;
#		protocol   pop3;
#		proxy      on;
#	}
#
#	server {
#		listen     localhost:143;
#		protocol   imap;
#		proxy      on;
#	}
#}
I will explain the server block a bit here, it's important to set client_max_body_size to 100MB to allow file upload up to 100MB, this value could be overkill in some case so we will need to modify it to suit our use case.
server_name is set to the domain which is same as url in the docker-compose.yml file
proxy_pass is set to redirect all the traffic from server_name to http://127.0.0.1:8085
After modifying the nginx.conf file, we will have to reload nginx via the command sudo nginx -s reload
Domain name mapping
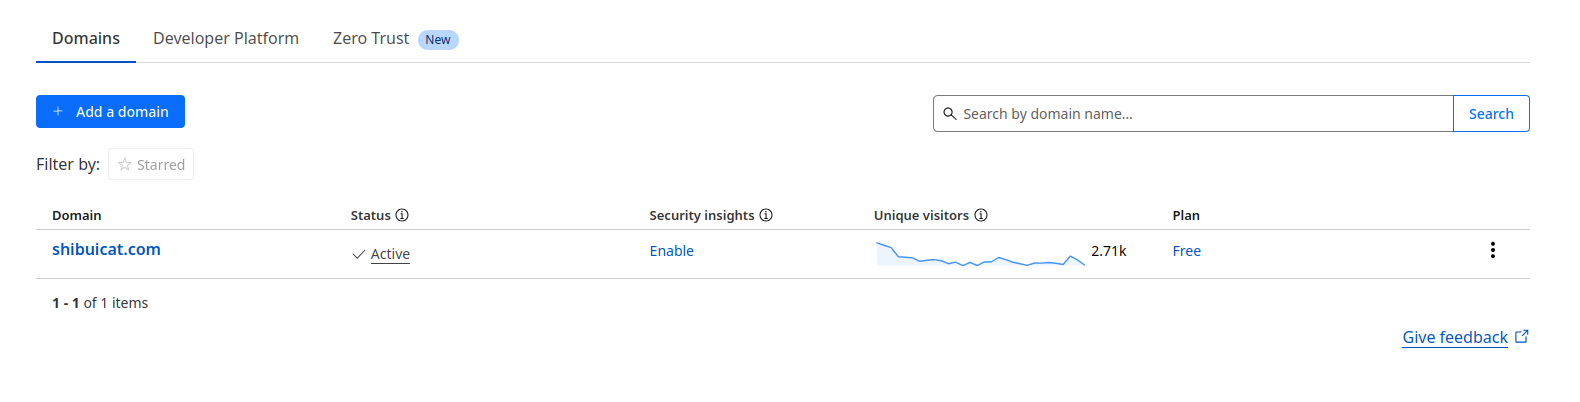
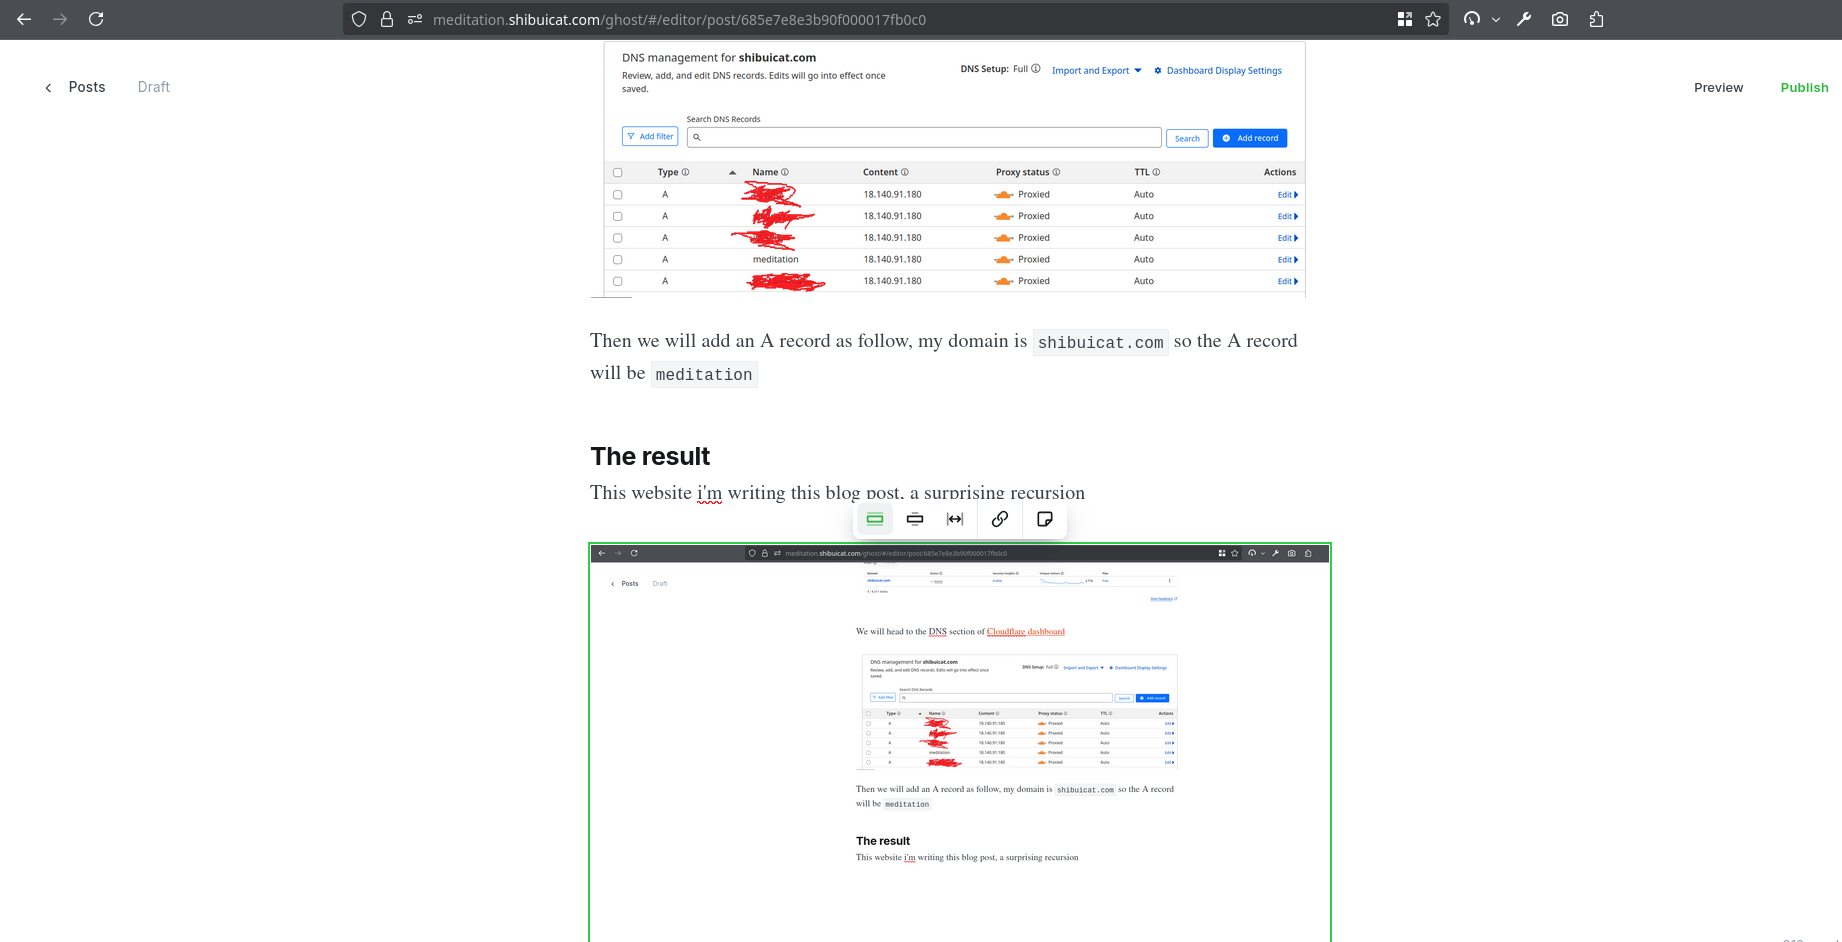
We will head to the DNS section of Cloudflare dashboard
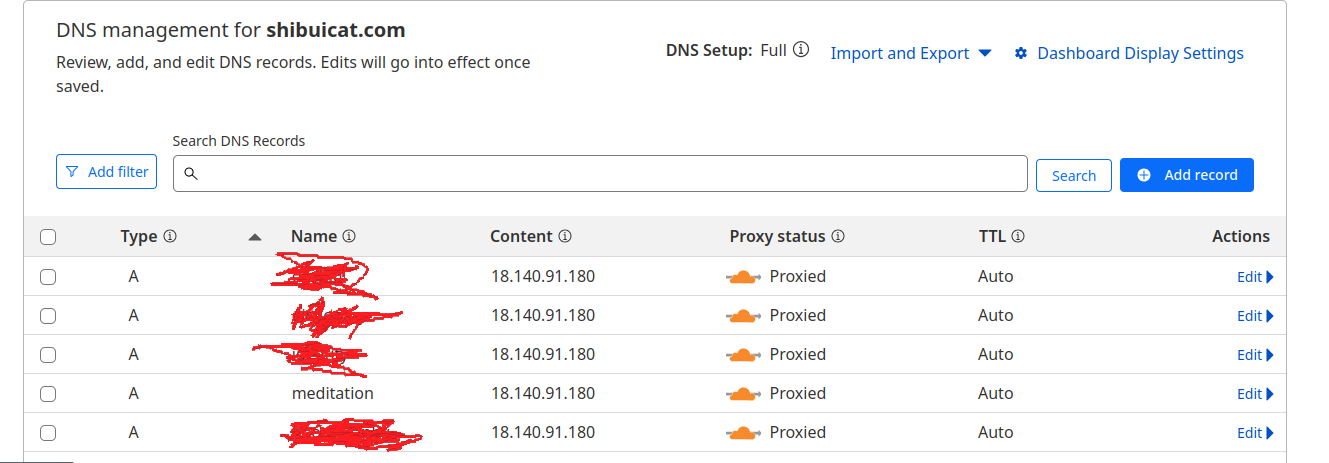
Then we will add an A record as follow, my domain is shibuicat.com so the A record will be meditation
The result
This website i'm writing this blog post, a surprising recursion